 Jejje
Jejje
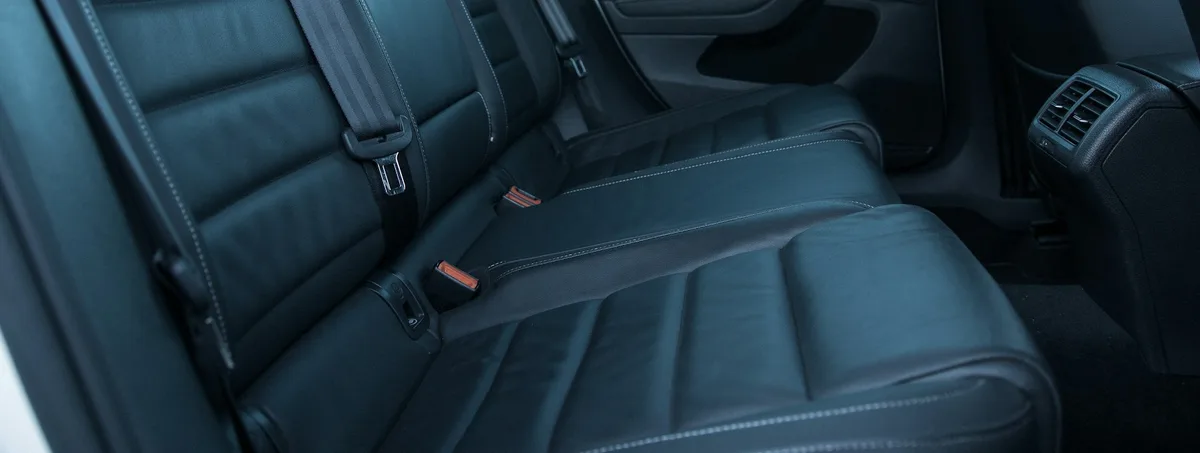
Coffee on the seat, mess from the kids or just years of regular use. Fabric upholstery picks up stains, but it's also forgiving if you treat it right. Here's a reliable method that works on most things without risking making it worse.
Understanding fabric upholstery
A car's fabric seats are made to take a lot of punishment, but they have a downside: the fabric soaks up liquid deep down. That means a stain can sit deeper than it looks, and too much water can find its way into the padding and get trapped there. The aim is therefore always to dissolve the stain with the right amount of product and then draw the dirt back out - not to soak the seat.
A good ground rule: work from the outside in towards the centre of the stain, so you don't spread it. And always test the product on a hidden area first - like the underside of the seat - so you know the colour and fabric can handle it.
What you need
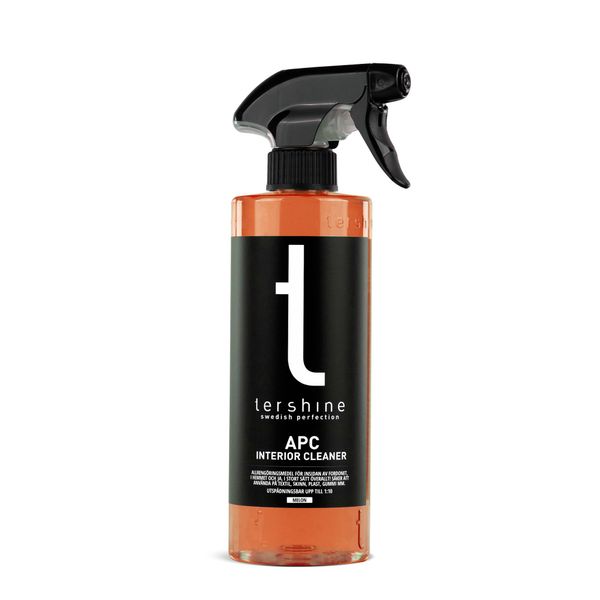
You can get a long way with an interior cleaner, a soft brush, a few clean microfibre cloths and a vacuum cleaner. Tershine APC Interior Cleaner is designed for fabric, leather and alcantara and is a safe choice for seat cleaning. If you have access to a so-called wet vacuum extractor, it can lift genuinely deep-seated grime, but for most stains a brush and cloth is more than enough.
Step by step
1. Vacuum first
Vacuum the whole seat thoroughly before getting anything wet. Any loose grit and crumbs left behind will otherwise turn to mud when they meet moisture and can even scratch. Get into the seams and stitching where a lot collects.
2. Test the product on a hidden area
Spray a little on a discreet part and wipe off. If the colour doesn't bleed and the fabric looks fine, you're ready to move on. This brief step can save you from a discolouration that's worse than the original stain.
3. Apply a moderate amount to the stain
Spray the interior cleaner directly on the stain, or onto the brush if the surface is delicate. Use a moderate amount - the fabric should become damp but not saturated. Allow the product to dwell briefly so it has time to break down the grime.
4. Brush gently
Work in the product with a soft brush using light circular motions. You'll often see the dirt start to lift and the foam turn greyish. Take it gently at seams and edges, and don't push liquid deeper than necessary.
5. Draw up the dirt with a clean cloth
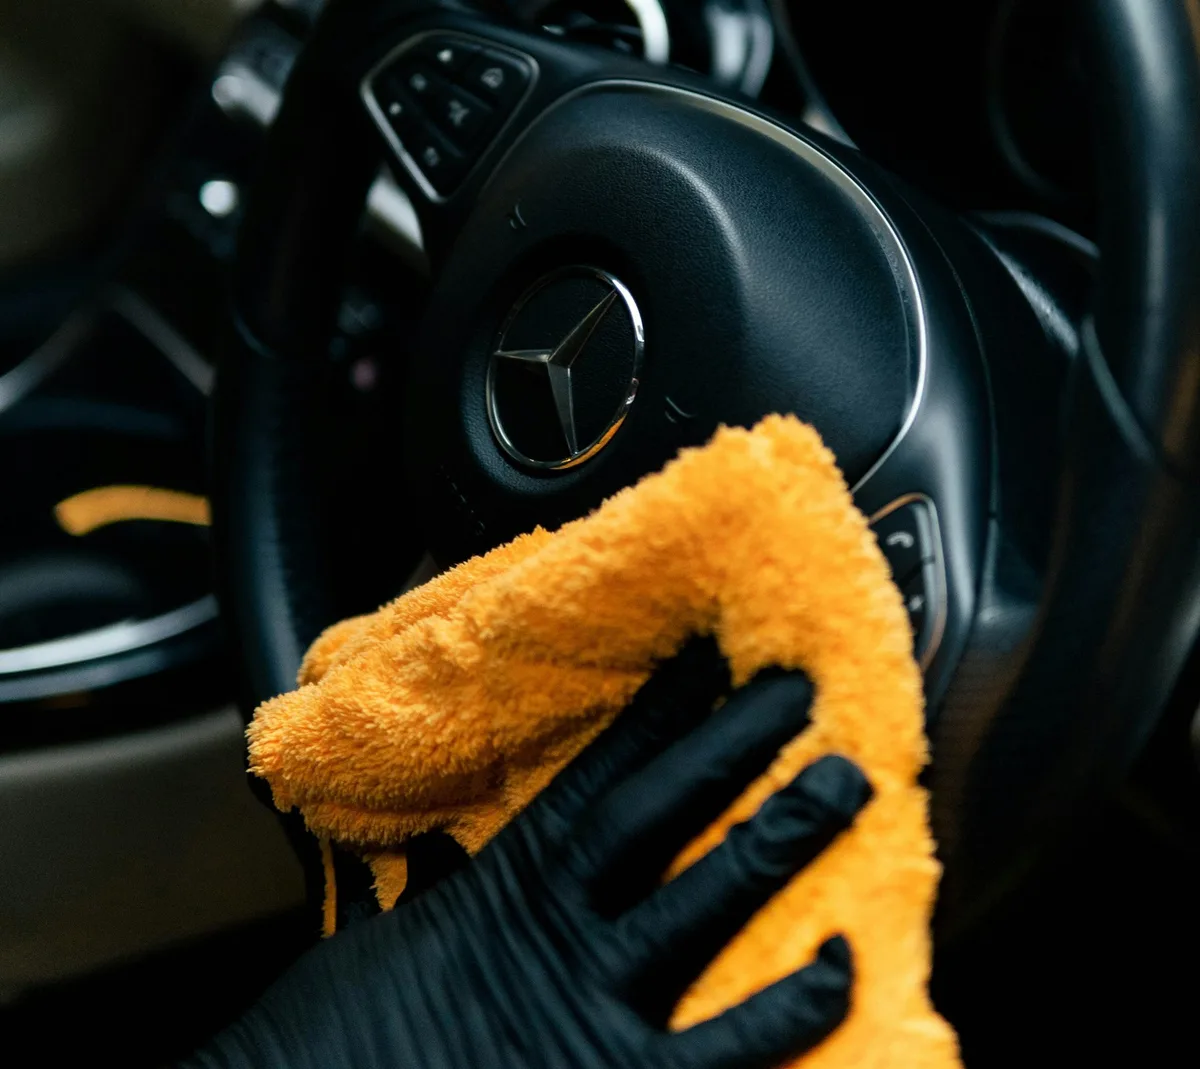
Press and wipe with a clean, dry microfibre cloth so it absorbs both the moisture and the loosened dirt. Turn the cloth or swap to a fresh one when it gets dirty. Repeat steps three to five if the stain remains - two gentle rounds are better than one aggressive one.
6. Allow to dry and vacuum lightly again
Let the seat air-dry properly, ideally with the doors open or the heating on. Once dry, you can vacuum or brush lightly once more to raise the pile so the surface feels even and fresh again.
Stain tips that save the seat
- Tackle the stain as quickly as you can - a fresh stain releases much more easily.
- Work from outside in so you don't spread the stain.
- Always test the product on a hidden area first.
- Several gentle rounds beat a hard one - avoid scrubbing the fabric to pieces.
- Less liquid and more blotting keeps the padding dry.
Particular stains
Some stains need a little extra thought. Coffee and fizzy drinks are sugary and get sticky - tackle them early with lukewarm water and interior cleaner. Greasy stains from food or makeup respond better to a degreasing product. Blood and protein stains should be treated with cold water, never hot - heat causes them to set. If in doubt, always start as mildly as possible and work up.
Going deeper: extractor cleaning
For really heavily soiled seats, or if you want to do a thorough full refresh, there's wet vacuum extraction. The method sprays cleaning solution into the fabric and immediately suctions it back out along with the loosened dirt. The advantage is that it reaches deep into the padding and takes the moisture with it, giving both cleaner seats and shorter drying time than brushing and wiping by hand.
You can hire an extractor at many petrol stations and rental outlets, and for anyone looking after several cars it may be worth buying a basic model. For the odd everyday stain, though, it's unnecessary - a brush, cloth and some patience goes a long way. Think of it as a tool for the big spring clean rather than for day-to-day care.
Common mistakes to avoid
The first mistake is using too much liquid. A saturated seat takes days to dry, and the moisture trapped in the padding causes both odour and a risk of mould. Less product and more blotting is always the right approach. The second mistake is rubbing hard on a fresh stain, which just pushes it deeper and can damage the fabric. The third is skipping the test on a hidden area - which occasionally results in a discolouration that's harder to fix than the original stain.
A fourth, less obvious mistake is mixing products. If you've already applied one type of cleaner, rinse and blot it up before trying another. Some products react with each other and can set colour or leave streaks. Stick to one product at a time and work methodically.
How often should you do this?
A light freshen-up of the seats a couple of times a year is enough for most people - ideally once in spring and once in autumn. If you have children, pets or do a lot of driving, it'll be more often, and in that case it's better to tackle small stains straight away rather than waiting for a big deep clean. The earlier a stain is treated, the more easily it comes out, and the milder the product needed. Regular, light maintenance simply keeps the upholstery fresher with less effort than a few large-scale cleans.
Summary
Fabric upholstery is forgiving if you're methodical: vacuum first, test the product out of sight, work from outside in with a moderate amount of cleaner, and draw up the dirt with a clean cloth. Let everything dry properly before using the car again. With this routine you can handle most everyday stains yourself, and the seats feel fresh again without having to book an expensive reconditioning service.