 Jejje
Jejje
Once a year, ideally in spring or autumn, it's worth giving the car a proper full treatment from top to toe. It sounds advanced, but a full detailing at home is really just the usual steps done in the right order over one day. Here's the whole thing, calmly and clearly, so that even a complete beginner can tackle it.
What does full detailing mean?
Full detailing means going over the entire car properly instead of just giving it a quick wash. You start outside with pre-wash and degreasing, wash by hand, clean wheels and tyres, remove contaminants from the paint, dry, apply protection, make the windows crystal clear and finish with the interior. The point is the order: each step prepares the next, and if you do them in the wrong sequence you create double work.
Allow half a day to a full day depending on how thorough you are and how dirty the car is. Don't see it as a stressful task but as a relaxed day with the car, where you also get to know every surface. The reward is a car that feels brand new, and the satisfaction of having done it yourself.
Prepare properly before you start
Half the work is having everything ready and choosing the right conditions. Position the car somewhere cool and in shade, never in direct sun, since water and products will dry too fast otherwise and leave marks. Make sure you have plenty of time, so you don't have to rush through the final steps.
Lay out your equipment before you start: pre-wash and degreaser, car shampoo, two buckets, wash mitt, wheel brushes, clay bar with lubricant, a drying towel, paint protection or wax with applicator, glass cleaner and a few microfibre cloths, plus whatever you need for the interior. Having everything to hand means the day flows without interruption.
Step by step through the day
1. Start with wheels and tyres
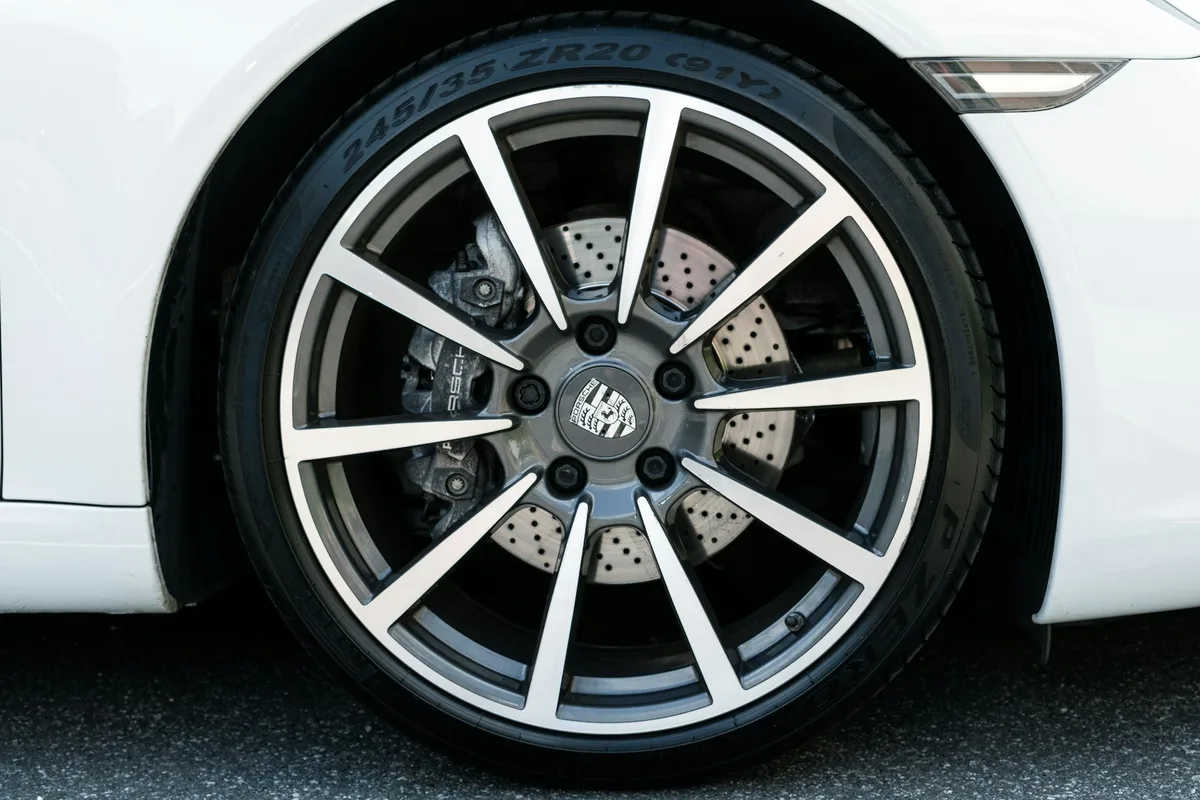
Wheels are the dirtiest part of the car, so do them first to avoid dragging contamination onto already-clean paint. Work on cool wheels. Following a classic pre-wash sequence, first apply an iron remover to the cool wheels, then a cold degreaser and an alkaline degreaser on top. Allow to dwell for five to ten minutes without letting it dry, agitate with wheel brushes in every crevice, and then rinse off from the bottom up. Cover the tyresides and wheel arches while you're at it.
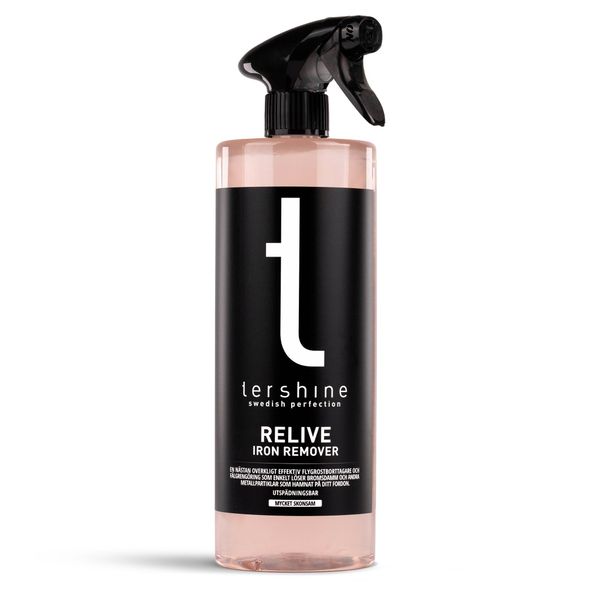
2. Apply pre-wash to the whole car
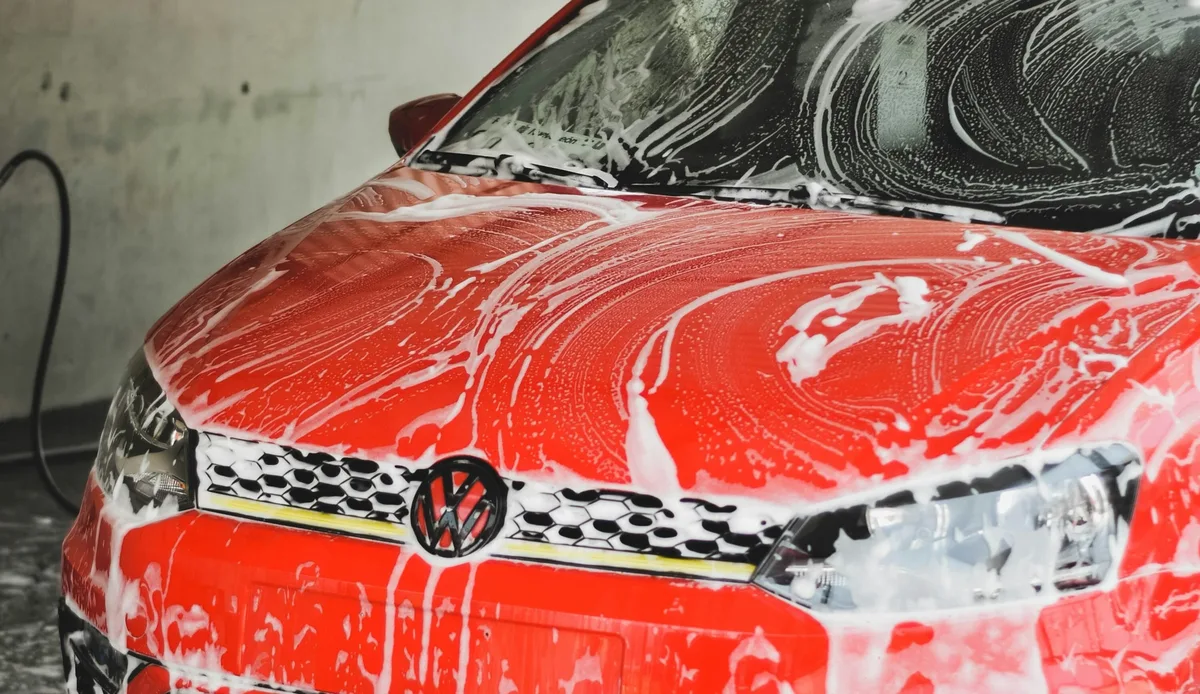
Now pre-treat the rest of the car while it's still dry or lightly damp. Apply degreaser to the dirtiest areas - the front with insects and the lower third with road film - and <span style="font-size: 15.2px;">a layer of pre-wash foam over the whole car</span> if you have a foam lance. Let the chemistry work and loosen the dirt, but never let it dry in. Then rinse off thoroughly from top to bottom.
3. Hand wash with the two-bucket method
Time for the actual wash. Use two buckets - one with shampoo solution and one with clean rinse water - so you rinse the dirt out of the mitt before dipping it back into the shampoo. Wash from top to bottom in straight strokes, panel by panel, and rinse the mitt often. The top of the car is cleanest and the bottom is dirtiest, so working in that order keeps the mitt cleaner for longer.
4. Feel the paint and clay if needed
With the car clean, do the bag test: put your hand in a thin plastic bag and run it over the paint. If it feels rough, there are contaminants left that the wash hasn't removed, and it's time for a clay bar treatment. Keep the surface wet with lubricant, work the clay in small sections until it feels smooth, and change clay bar often. If the paint already feels like glass, skip this step.
5. Dry the car properly
Dry the car with a large, soft drying towel before the water has a chance to air-dry and leave spots. Lay the towel against the surface and draw it smoothly, or pat it against the paint, rather than rubbing. Don't forget to open the doors, boot and fuel cap and dry in the gaps, where water otherwise runs out later.
6. Apply paint protection or wax
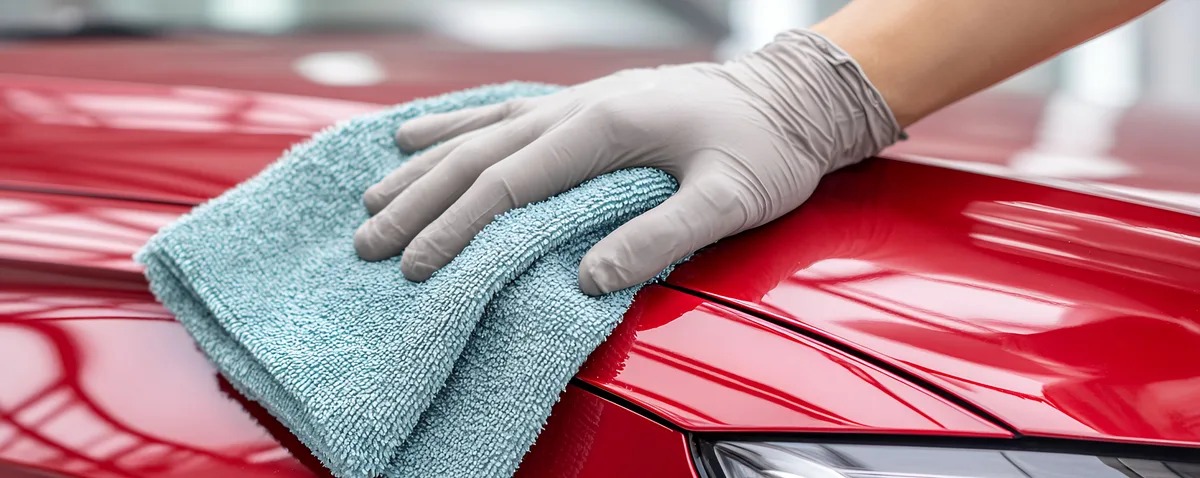
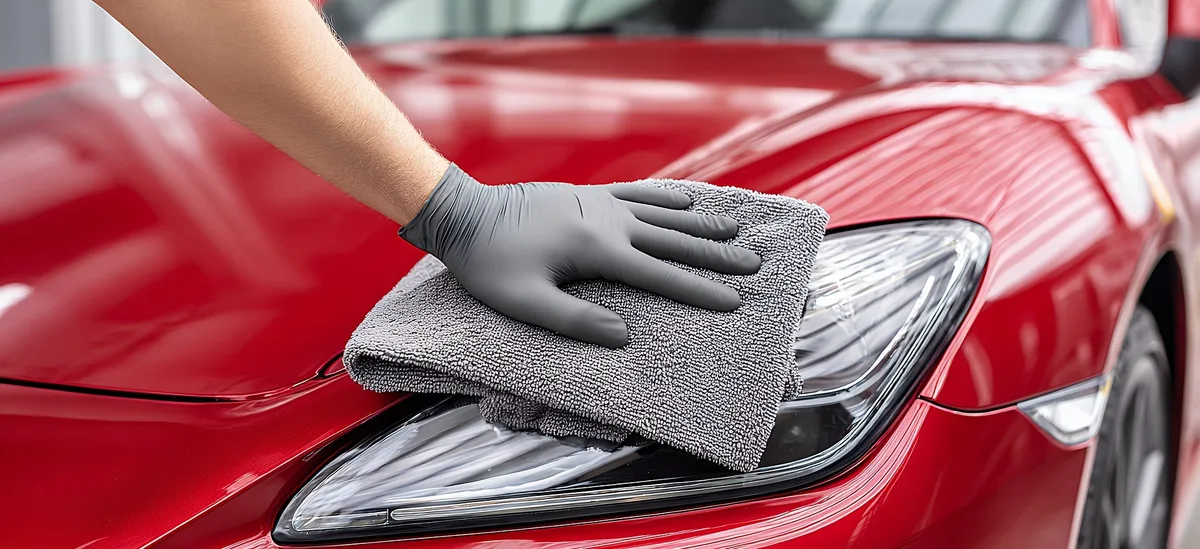
Now the paint is clean, smooth and dry - the perfect base for protection. Apply a thin, even coat of wax or paint sealant with an applicator, one panel at a time. Don't take too much; thin is always better. Allow to haze according to the instructions and then buff off with a clean microfibre cloth until the gloss comes through. This step is what makes the car really shine and what keeps it clean longer.
7. Make the windows crystal clear
Do the windows inside and out with a glass cleaner and two cloths - one damp to wash with and one dry to buff with. Be particularly thorough on the inside of the windscreen, where a greasy film tends to settle and disrupts visibility in back-light. Spray onto the cloth rather than the glass, and wipe in different directions on the inside and outside so you can easily see where any streaks are.
8. Take care of plastics and rubber
Freshen up the external plastic details and rubber seals with a product designed for the purpose, so grey plastic gets its colour back and rubber becomes soft and water-repellent. Apply thinly and wipe off excess. It's often this final little step that elevates the whole result from clean to polished.
9. Finish with the interior
Do the interior last, so you don't bring dirt from outside in afterwards. Empty the car, shake out the mats and vacuum thoroughly, wipe all hard surfaces with an interior cleaner, and clean fabric, leather or alcantara according to what the car has. Let everything dry before putting the mats back. A clean interior does as much for the feel as a gleaming paint job.
Keep the day organised
- Always in shade and on a cool car, never in direct sun.
- Outside in, inside out: wheels, paint, glass, plastics and interior last.
- Top to bottom in every washing step - the cleanest part first.
- Never let degreaser or wax dry in - work panel by panel.
- Have all equipment ready before you start, so you don't have interruptions.
Do you need expensive equipment?
No, you can get surprisingly far with a simple basic set, and it's better to spend money on a few good items than on a lot of gadgets you rarely use. What really matters is a soft wash mitt, two buckets, a few clean microfibre cloths and a good drying towel, plus the basic products for pre-wash, washing, protection and glass. With that you can do a fully capable detailing at home.
If you want to expand over time, a foam lance for the pressure washer is a nice investment that makes pre-washing both more enjoyable and more effective, and a set of dedicated wheel brushes saves a lot of effort. But start simply. What matters most is technique and order, not the price tag on the bottles. Many of the finest results are achieved with products from well-known, good-value brands, and you can always upgrade as you notice what you're missing.
Can you split the detailing over several sessions?
Absolutely, and for many people that's more realistic than setting aside a whole day. A good split is to do the full exterior - wheels, wash, possible clay treatment and protection - in one session, and tackle the interior and glass another day. The protection on the paint should be applied in one go directly after washing and drying, so try to keep the exterior steps together.
Another way to spread the work is to distribute the heavier steps over the season: clay treatment and a solid protection in spring, and a simpler refresh later. What matters is that the steps come in the right order when you do them, not that everything happens the same day. If you're short on time, a split detailing is always better than none at all.
Common mistakes during a detailing day
The most common mistake is doing the steps in the wrong order - for example washing the wheels last and splashing grime onto freshly waxed paint. Stick to outside first. Another common mistake is working in the sun, which ruins both washing and waxing with dried-in spots. A third is using too much wax in the belief that it protects better, when it just becomes difficult to buff off and can leave a white residue.
Many people also underestimate the time and rush the final steps, which are often the ones that show the most - glass, plastics and interior. Plan to take longer than you think, and tackle the detailed steps while you're still fresh. And remember that a detailing doesn't need to be perfect to be worth it - even a partial effort makes a huge difference compared to a regular quick wash.
Maintaining the result afterwards
Once you've spent a whole day on the car, you want it to last. The key is regular upkeep between detailing days. Wash the car regularly - roughly every two weeks - so dirt never gets a chance to set, and remove spots like bird droppings and insects as soon as you notice them. A quick detailer or wet coat after a regular wash top up the gloss and protection with minimal effort.
Keep an eye on how water behaves on the paint. As long as it beads up nicely, the protection is holding; when it starts running off as a flat film, it's time to top up the wax again. With this simple follow-up, you only need to do the big, full detailing once or twice a year, while the car looks well cared for all the time in between.
Summary
A full detailing at home is nothing mysterious - just the usual steps in the right order over a relaxed day. Start with the wheels, pre-wash and hand wash the car, feel the paint and clay if needed, dry properly and then apply protection. Finish with glass, plastics and interior - always outside in and top to bottom. Work in shade, take your time and don't rush the final steps. Follow up with regular washing in between, and one or two detailing days a year is enough to keep the car feeling new all year round.